


Smartphones today have powerful cameras and processors, making them popular tools for content creation. However, while video quality has improved dramatically, audio quality is often overlooked. Clear, professional sound can make the difference between amateur content and polished production. Fortunately, with the right techniques and tools, you can record high-quality audio using just your smartphone.
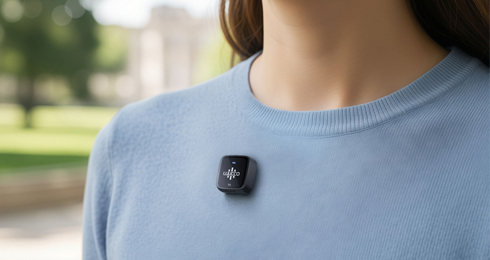
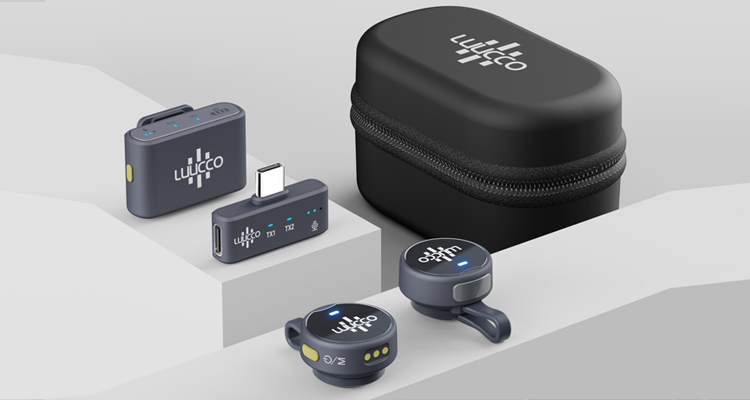
The built-in microphone on a smartphone is designed for basic use such as calls or voice messages. For professional recording, an external microphone is highly recommended. Popular options include:
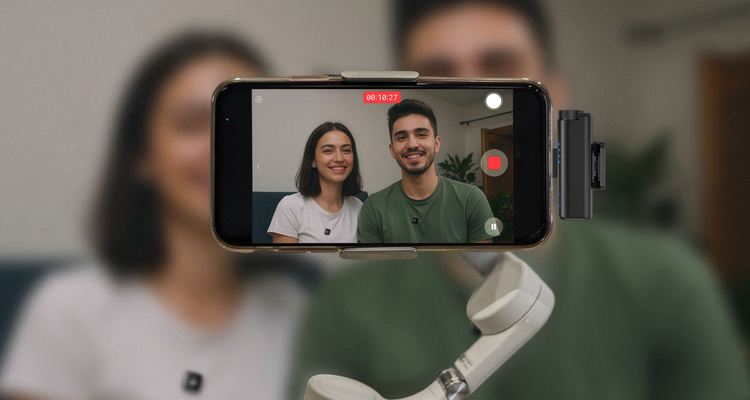
Many modern wireless microphone systems are designed specifically for smartphones and support both iOS and Android devices.
Even the best microphone cannot fully eliminate background noise. Choosing the right recording environment is essential.
Tips for a clean recording space:
If you are recording outdoors, try to avoid windy environments or use a windshield (foam cover or deadcat) on your microphone.
Microphone placement significantly affects audio clarity.
Best practices include:
For interviews, ensure both speakers are positioned at similar distances from the microphone.
Professional recordings require balanced audio levels. If the audio is too low, it may contain noise; if it is too high, it can distort.
Tips for managing audio levels:
Monitoring with headphones can help you detect issues immediately.
While the default voice recorder works for simple recordings, specialized apps offer greater control over sound quality.
Features to look for:
These tools allow you to fine-tune your recording and achieve a more professional result.
Handling noise and movement can affect audio quality. To keep recordings stable:
A steady setup ensures consistent sound capture throughout the recording session.
After recording, basic audio editing can greatly improve the final result.
Common editing steps include:
Many mobile and desktop editing tools make it easy to refine your audio before publishing.
Recording professional-quality audio with a smartphone is completely achievable with the right approach. By using an external microphone, selecting a quiet environment, positioning the microphone correctly, monitoring audio levels, and performing simple post-editing, you can significantly improve your sound quality.
Whether you are creating videos, podcasts, interviews, or social media content, great audio will make your content more engaging and professional.